Loading cart contents...
How to measure your walls
You have picked out your mural and are excited to place your order. How you measure and place that order is a crucial step to getting a beautifully printed custom mural delivered to your door. What YOU do next means everything!
Read these important steps before moving on to the next section on how to measure your walls:
- Record your measurements in inches.
- Measure in two points for each dimension. For width, measure across at both the top and bottom of each wall. For height, measure on both the left and right sides from top to bottom. Always document the largest measurement if they vary. (We will repeat this step in several sections below to make sure you don’t miss it.)
- If a measurement falls in the middle of two major hash marks on your measuring tape, round up to the nearest hash mark. Example: You measure between 1/4 in. and 1/2 in., document the 1/2 in. to give yourself the wiggle room you’ll need later during installation.
- Getting your measurements correct is absolutely crucial when ordering. Remember the new adage, measure twice, print custom murals once. They can not be reprinted for free if you get this step wrong.

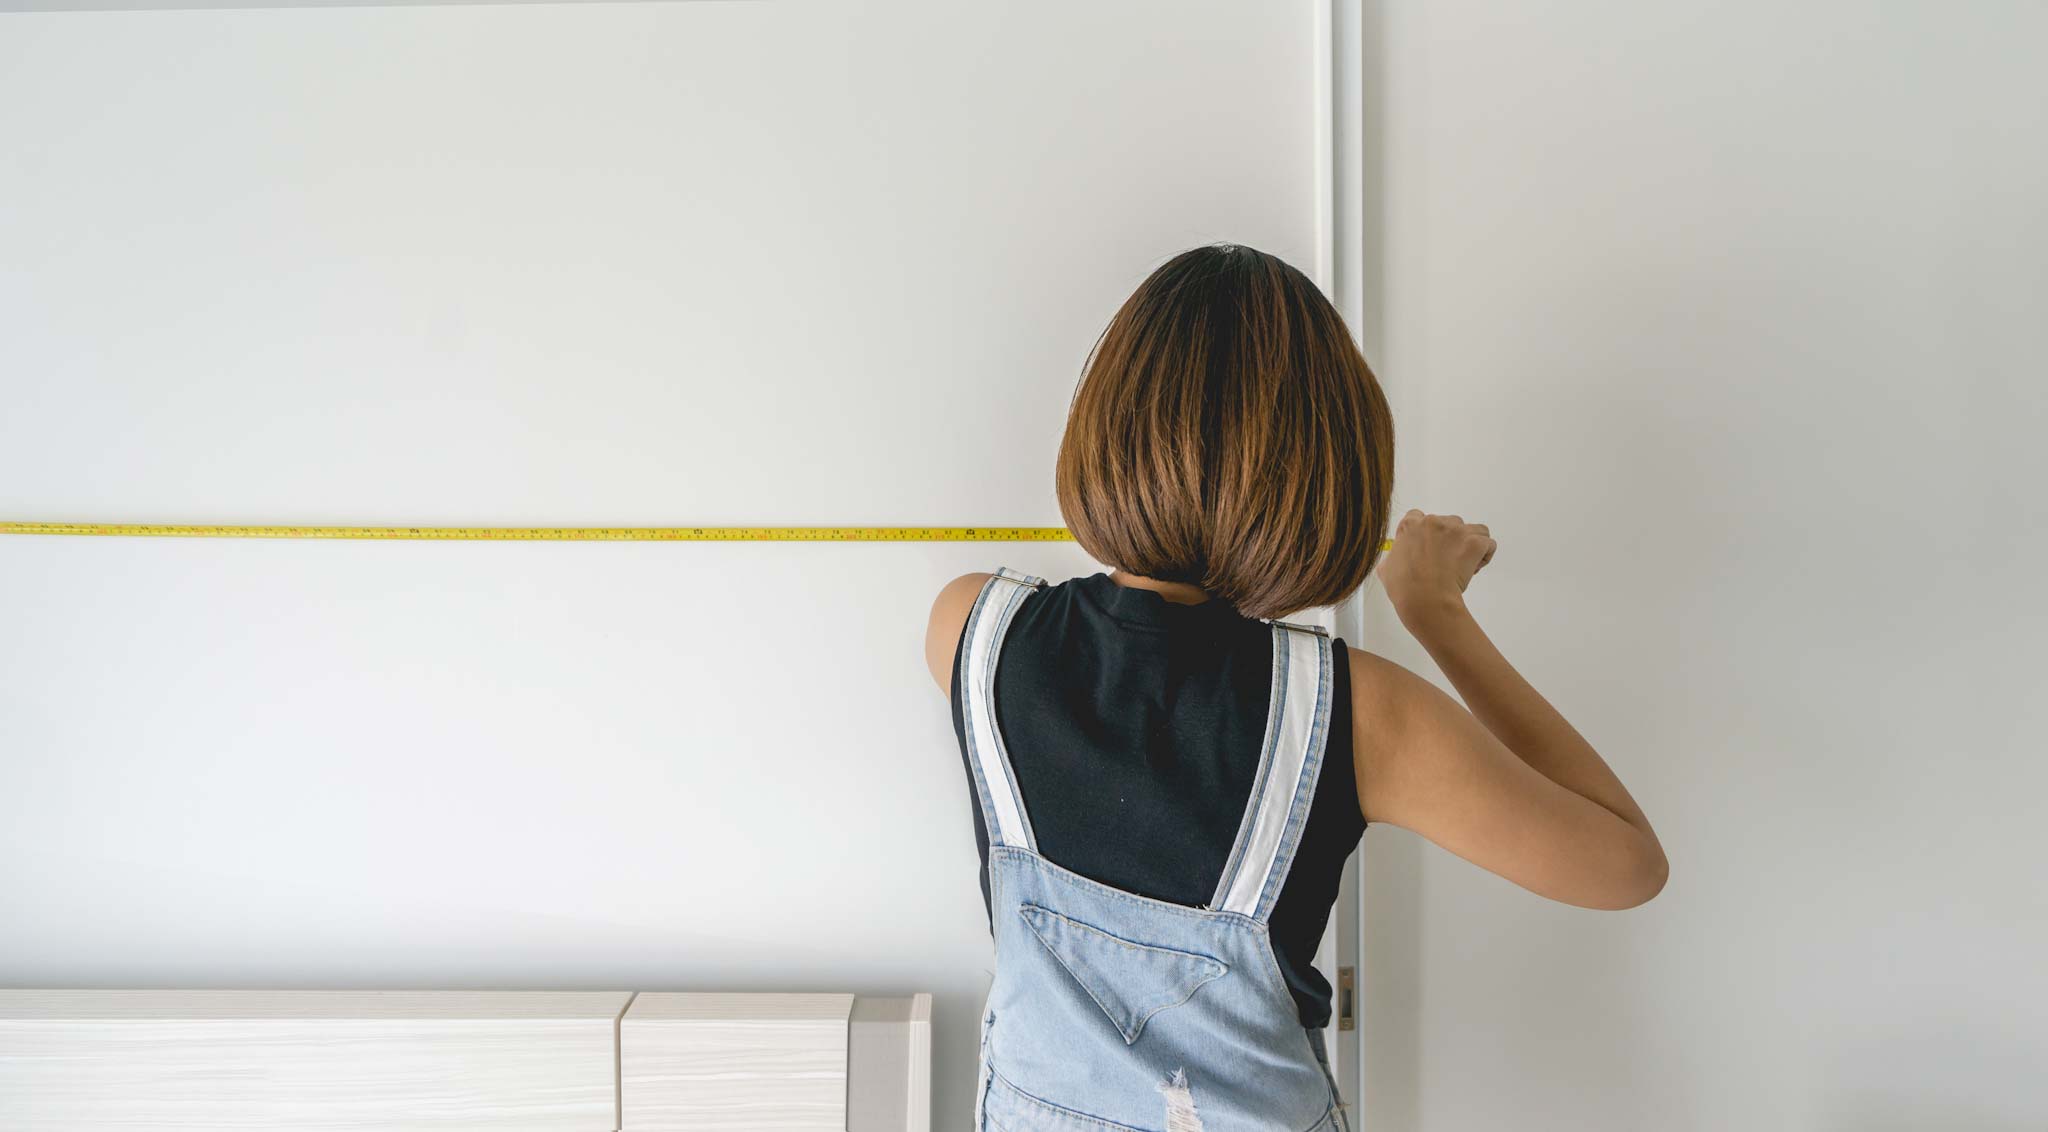
Measuring a standard wall
Getting the measurements right is key when planning for your custom wall mural. Since walls aren’t always perfectly straight, you must measure at two points for each dimension. For width, measure across at both the top and bottom of the wall. For height, measure from top to bottom on both the left and right sides. Always choose the largest measurement if they vary. Be sure to exclude baseboards and moldings. And don’t forget to double-check your measurements to avoid any problems.
*Getting your measurements correct is absolutely crucial when ordering. Remember the new adage, measure twice, print custom murals once. They can not be reprinted for free if you get this step wrong.

Measuring walls with obstacles
Do you have doors, windows, and electrical sockets on your wall? Ignore these obstacles and simply measure the entire wall (See How to measure a standard wall.) Your wall mural will be printed as one complete rectangle which you can trim later as you install it.
*Getting your measurements correct is absolutely crucial when ordering. Remember the new adage, measure twice, print custom murals once. They can not be reprinted for free if you get this step wrong.
Fun tips:
- If you have a plain flat door without grooves or moulding, consider covering it with your mural to create the illusion of a secret door.
- If you ordered a mural on Peel & Stick material, any larger scrap pieces left over after installation can be used to cover furniture or the inside of drawers. Get creative and don’t let pieces of your art go to waste.

Measuring for multiple walls
If you want to install your wall mural across several walls, simply measure each wall separately (see Measuring a standard wall) and add together the total width of all the walls combined. You will submit the total wall width and the single tallest measurement of your height.
Example:
- If widest parts of three connecting walls are 120 in., 72in., and 48 in., your total width is 240 in.
- If the tallest points of each are 96 in., 97 in. and 108 in., the height you will submit is 108in.
- The dimensions you use when placing your order is Width: 240 in. and Height: 108 in.
- Your mural will come in the shape of a rectangle which you will cut to fit each wall.
*Getting your measurements correct is absolutely crucial when ordering. Remember the new adage, measure twice, print custom murals once. They can not be reprinted for free if you get this step wrong

Measuring a vaulted, arched, or slanted wall
Measuring a vaulted, arched or slanted wall is the same as measuring a standard wall. Always measure the longest and widest parts of the wall. Since walls aren’t always perfectly straight, you must measure in two spots for each direction. For width, measure at the top and bottom of the wall. For height, measure on both the left and right sides. Always choose the largest measurement if they vary. Be sure to exclude baseboards and moldings. Don’t worry about the angle or curve. Your mural will come as a rectangle, so you’ll cut off the extra material to fit the curve or angles during installation.
As in all walls, don’t forget to double-check your measurements to avoid any problems. Getting your measurements correct is absolutely crucial when ordering. Remember the new adage, measure twice, print custom murals once. They can not be reprinted for free if you get this step wrong.

Measuring for multiple sections with panel moulding
Measuring for sections with panel moulding like a triptych is similar to measuring for multiple walls. Take the highest measurement of all the panels and take the sum of all your widths. Your mural will arrive in the shape of a rectangle which you will cut to size to fit each section. See Measuring for multiple walls for complete instructions.
*Getting your measurements correct is absolutely crucial when ordering. Remember the new adage, measure twice, print custom murals once. They can not be reprinted for free if you get this step wrong.
If you want to get really creative, there is another way to design a mural over several panels that emphasizes intrigue. Take a look at Triptychs don’t have to be cryptic to learn more.