Loading cart contents...
Preparing your walls – the essentials
Preparing your walls for a wallpaper mural is an important part to achieving long-lasting beautiful results. Proper prepping of your Jitterbug wallpaper mural helps it stay in place, prevents bubbling, and keeps it looking great for years to come.
Creating a clean, smooth wall surface
The time you’ve spent anxiously waiting for your Jitterbug wallpaper mural to arrive is the perfect time to start prepping your walls. Gather your supplies and let the fun begin!
1.
NO textured walls!
DO NOT attempt to apply your wallpaper mural to any type of textured wall. This includes but is not limited to knock-down, orange peel, lace, sand, and Venetian textures. And yes, you guessed it, that most definitely includes popcorn ceilings. All wall surfaces should be a smooth surface without any applied textures. Though our heavier murals will stick to some textures and hide imperfections we highly discourage you from applying your mural to a textured wall. The textured pattern can give your mural an unsightly finish that does not compliment fine art images.
If your Jitterbug wallpaper mural is already off to print and you have textured walls, it is vital to remedy the situation before installing your mural. However, not all is lost. You can do a DYI skimming treatment or hire a professional to smooth your walls before installing your mural.
2.
Remove hardware
Pull out any nails, metal hooks, staples, and remove other hardware like temporary plastic hangers and covers to electrical outlets.
3.
Inspect
Inspect your walls for imperfections. Look for holes, divots, and deep scratches, etc. Take a colored pencil and circle them so you can find them when it is time to make repairs later.
4.
Remove old wallpaper
If you have existing wallpaper hanging on your walls, its time to take that baby down. NEVER install your new mural over old wallpaper. Old wallpaper will eventually start peeling away, taking your brand new mural along with it. The old seams will potentially show through and maybe even old colors and designs. All around, it is a really bad idea not to remove old paper first. We know. It’s a drag. But we are watching out for you and want you to be exceedingly happy with the great job you did in the end.
5.
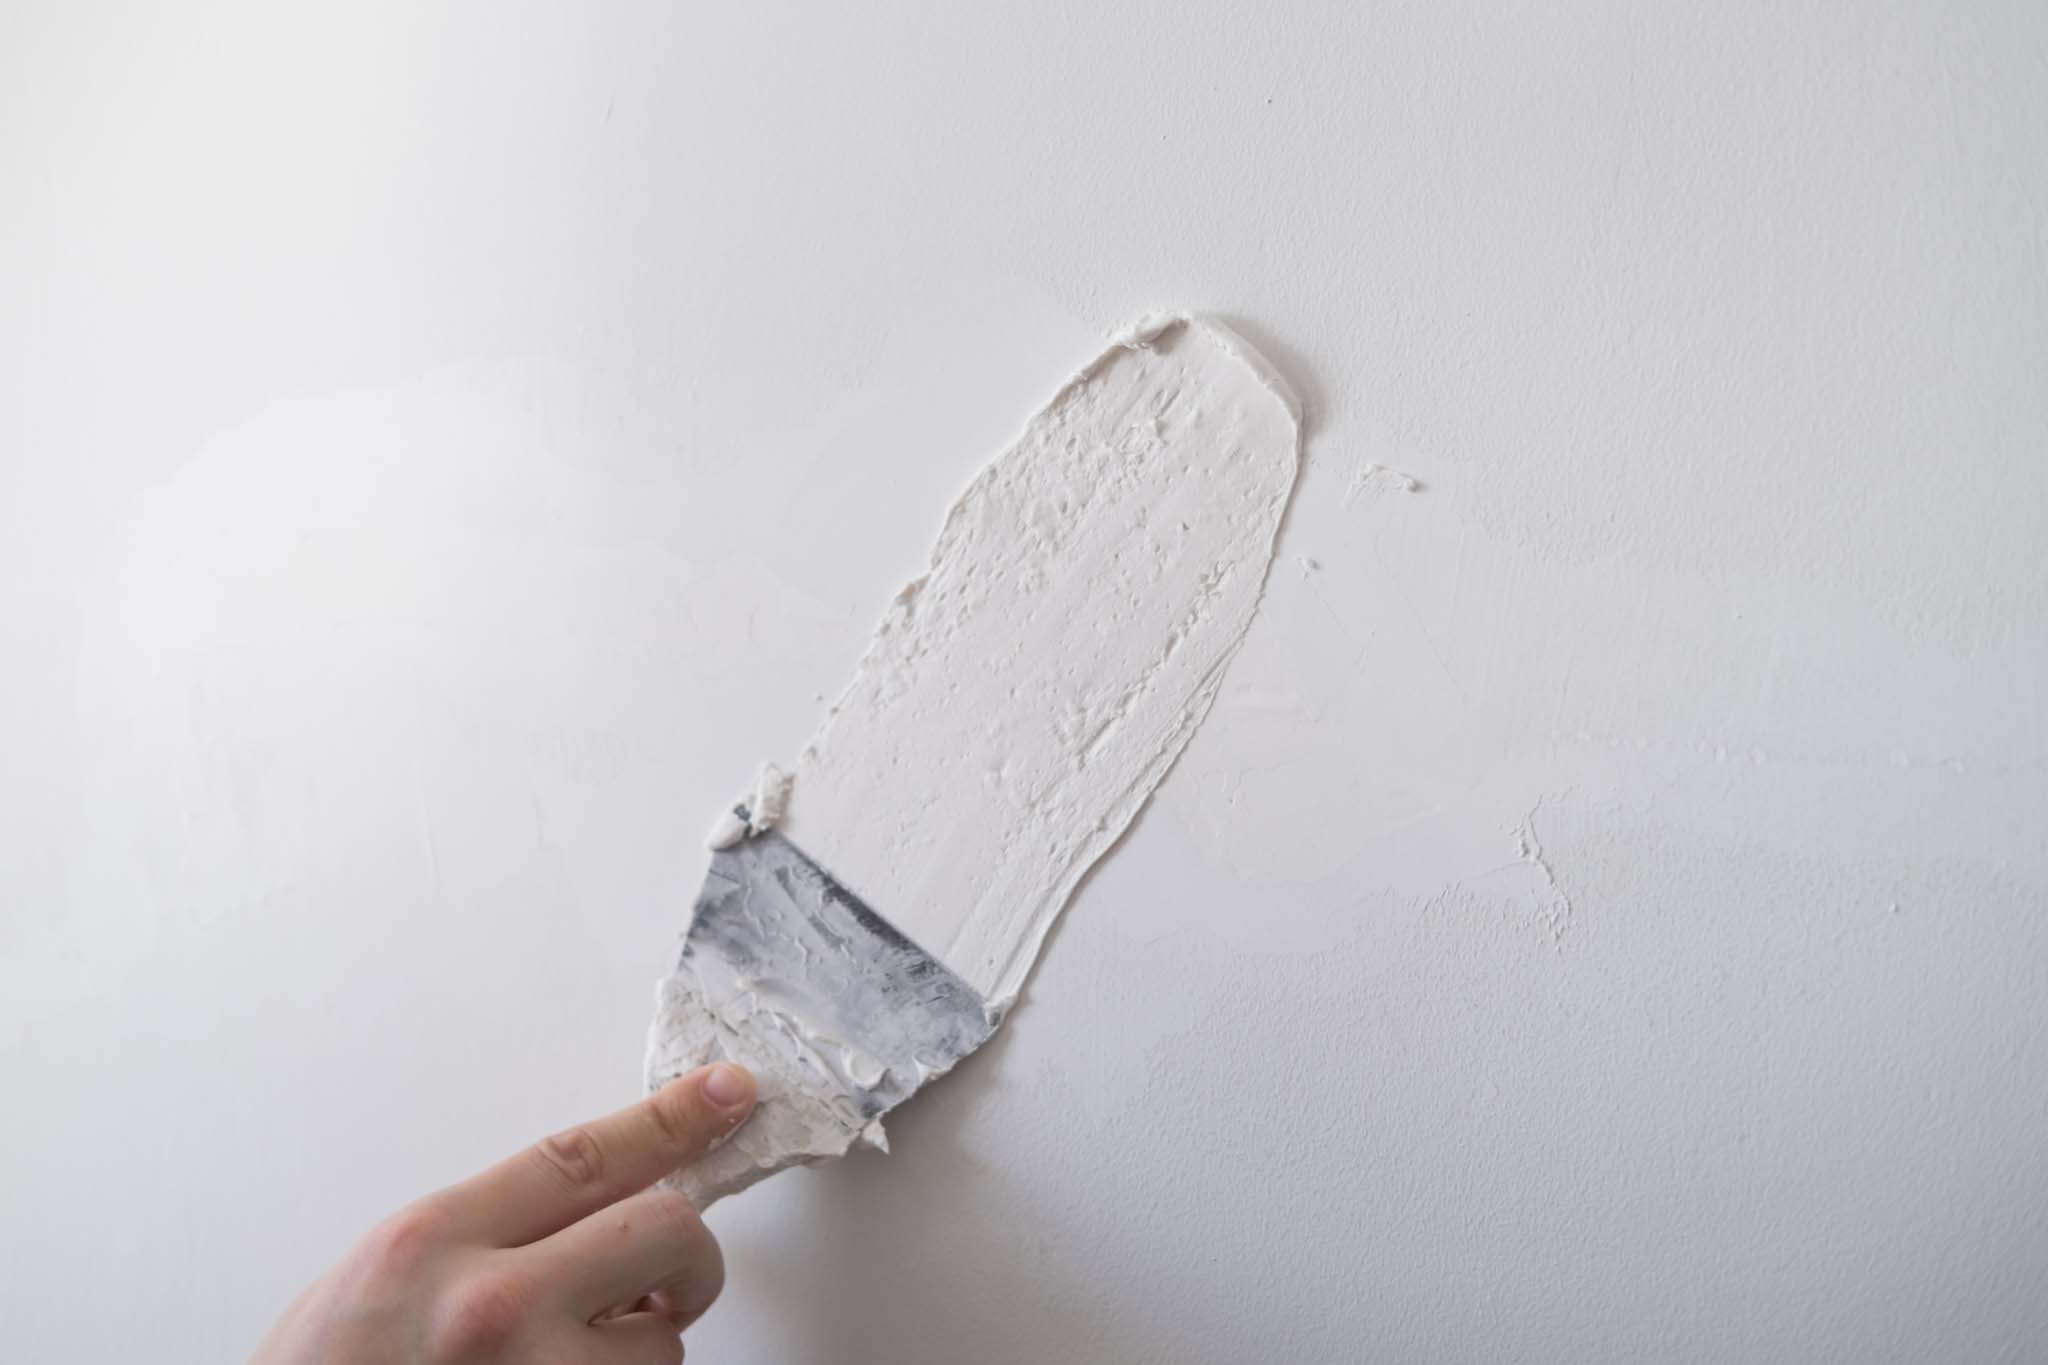
Fill imperfections and sand
Time to start spackling all those imperfections you found earlier. Give the spackle a few hours to completely dry before sanding it down nice and smooth. Be leery with companies who claim their spackle dries in 30 minutes. You could create more imperfections if the spackle isn’t fully dry before you begin sanding.
6.
Dust
Who knows what is lurking on those walls, unseen to the naked eye? All we know is that wallpaper doesn’t like sticking to it. It is time to dust! Take a vacuum cleaner with a soft brush, a microfiber duster on a long pole, or hand wipe your entire wall with a dry rag. Dusting prepares your wall for the final step: priming.
7.
Prime and Paint
Your final step is putting a fresh coat of primer or paint on your walls. Paint and primer in one is even better, and saves time.
Whether you have a brand new bare wall of sheetrock or a wall that has been painted several times over, priming before you put up a wallcovering is key. Bare sheetrock needs to be sealed and older walls have likely accumulated grime over the years. A fresh coat gives your wallpaper mural a clean surface to adhere to. This is also an absolute necessity if you have bare, unsealed sheetrock. Attempting to remove most wallpaper from bare sheetrock can peel the sheetrock’s paper surface away from the inner gypsum and destroy your wall.
One coat is all you need. Make sure to let it dry completely for at least a day or two before installing your mural.